
SKU:ww999
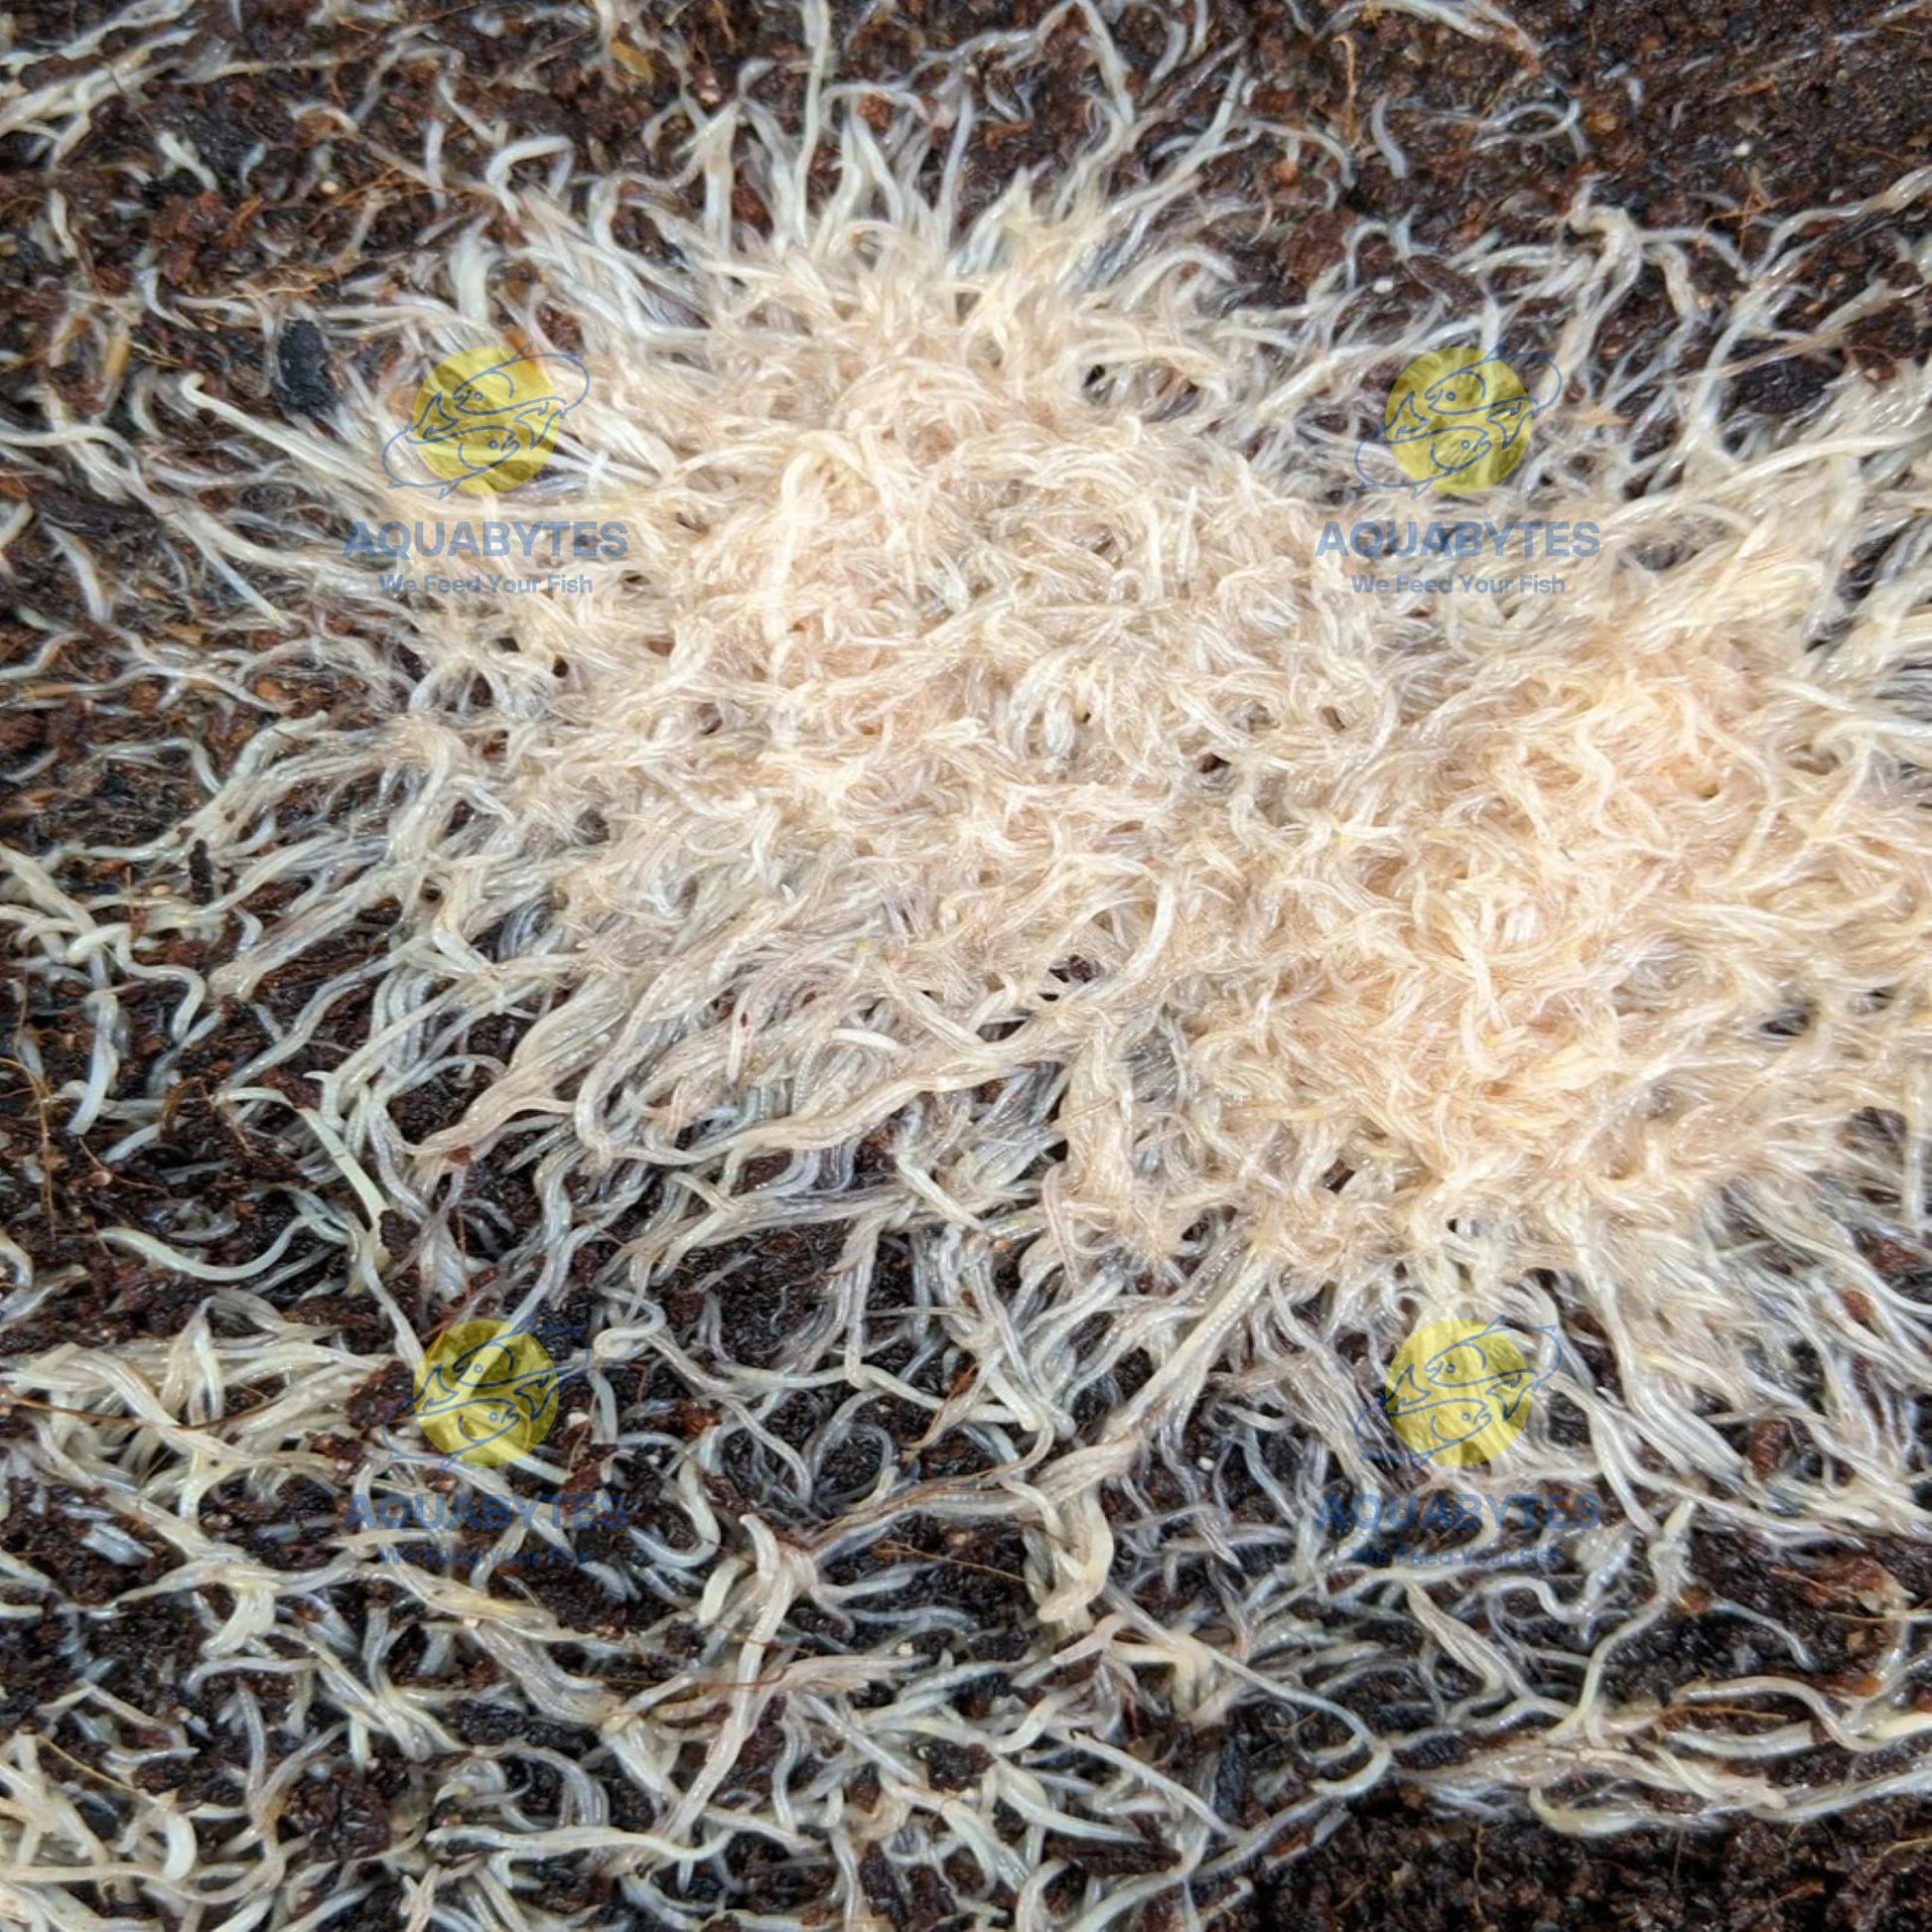
WHITE WORM CULTURE (Enchytraeus albidus) (for betta and larger fish)
WHITE WORM CULTURE (Enchytraeus albidus) (for betta and larger fish)
Low stock: 8 left
Couldn't load pickup availability
Being highly nutritious and calorically dense, white worms (Enchytraeus albidus) are some of the best live food for growth and for conditioning small to medium sized fish to breed. They also make great food for aquatic amphibians such as newts and dwarf clawed frogs. They are about 1” long and 1 mm wide, which makes them comparable to blackworms – just slightly smaller. Unlike live blackworms, however, they are easily reproduced at home. When added to water, they wriggle around which draws in whatever you’re feeding. Though they can survive submerged for a few days, they are not an aquatic worm and will not last indefinitely. Luckily, they are so enticing to fish and amphibians that they will likely be eaten very quickly by the hungry critters. This is definitely a live food worth having on hand. One caveat is that to really succeed with culturing white worms, you will want to find a cool place to store them. A wine chiller set to 60 degrees or a cold part of the basement will suffice. If you have a place in mind to store them that’s under 70 degrees, you may proceed.
To culture them, you will need:
- A tupperware or plastic container with lid
- Organic dirt or Coco fiber (brick or loose)
- Dechlorinated water
- White worm starter culture
- Food for the white worms (see below)
Directions:
- If using dirt, sterilize the substrate before use if you are able. If using coco fiber, soak a brick in warm water for ~ hour before starting. If using loose coco fiber, go on to step 2.
- Select clean tupperware or plastic container
- Fill container ⅓-½ full with dirt or coco fiber
- Add a splash of dechlorinated tap water to dampen if necessary (soil should clump together but not be dripping wet)
- Collect worms from starter culture or mature culture and add to the dirt
- Add small quantity of food
- Cover the new culture with lid and secure
- Poke a dozen or so holes in the middle of the lid with a push pin
- Label the date on the lid with sharpie to keep track
- Place culture in a cool, dark place
The food you use will be the following…
Feeding the worms:
There are many ways people feed white worms, and everyone seems to swear by something different. Ultimately, these worms are decomposers like earthworms and will eat almost any organic material. Options include dry cat food, oatmeal, instant mashed potato, baby food, fish flakes, and veggies and fruit scraps (nothing too acidic). I’ve found that a lot of the “easy” foods tend to mold really quickly. What we like to feed our white worms that really seems to work is whole grain bread with plain yogurt spread on top and sprinkled with yeast. The yogurt and yeast side of the bread will go down facing the dirt. You will ideally check on the food every other day and remove anything moldy (pretty much anything you feed them will mold if it’s uneaten). With a smaller culture, you will want to feed very small portions at first and increase as time goes on and the culture matures. Maturity takes about 1-2 months.
Harvesting the worms:
To harvest the worms, a card protector or similar piece of plastic or glass or canvas should be placed directly on top of the food. Collect any worms that congregate on this surface with fingers or simply dunk into a cup of dechlorinated water. When a culture is at peak production, you can sometimes forgo the plastic altogether and grab clumps of worms with your hands (preferably gloved). Be careful not to grab the dirt or remnants of worm food while collecting. Feed only as much as the fish will consume at once. Worms can be pipetted or syringed into the aquarium from the collection cup of water to portion out or it can be simply poured in.
When to re-culture:
Besides feeding your white worms, you will also want to periodically check the dampness of the soil or coco fiber. If it starts to dry out, you may need to add some water. You have to be careful not to oversaturate the soil, as this will cause the worms to “evacuate.” Speaking of evacuation, when you have so many worms in your culture that they no longer bury in the soil, that’s a good indication that you will need to make new cultures. Because of all the waste build up in the soil over time, the environment becomes inhospitable to worms, which is why they climb the sides of the container. They will eventually “crash” or die off if this is not addressed. Typically, a culture takes about two months to peak, at which point you’ll want to start new cultures with fresh dirt and new containers. Whenever possible, having multiple cultures is ideal to adequately meet your needs and to insure against crashes.
Share
